

Tools:
Black fur, white felt, wide black headband, glue gun, thread & needle/sewing machine, paper pattern of the ears, scissors, pins

Before we starts I want to tell you a little about the ear pattern. The cat ear is this shape:
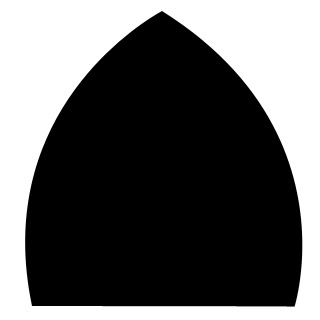
You will need two patterns in this shape, one smaller than the other. Now, you can make them any size you want, mine are 15 cm wide and 10 cm tall, just make sure you have a second shape 1 cm smaller. This way the ears will look more natural, with the white inside smaller, and the fur covering the edge.
Steps:
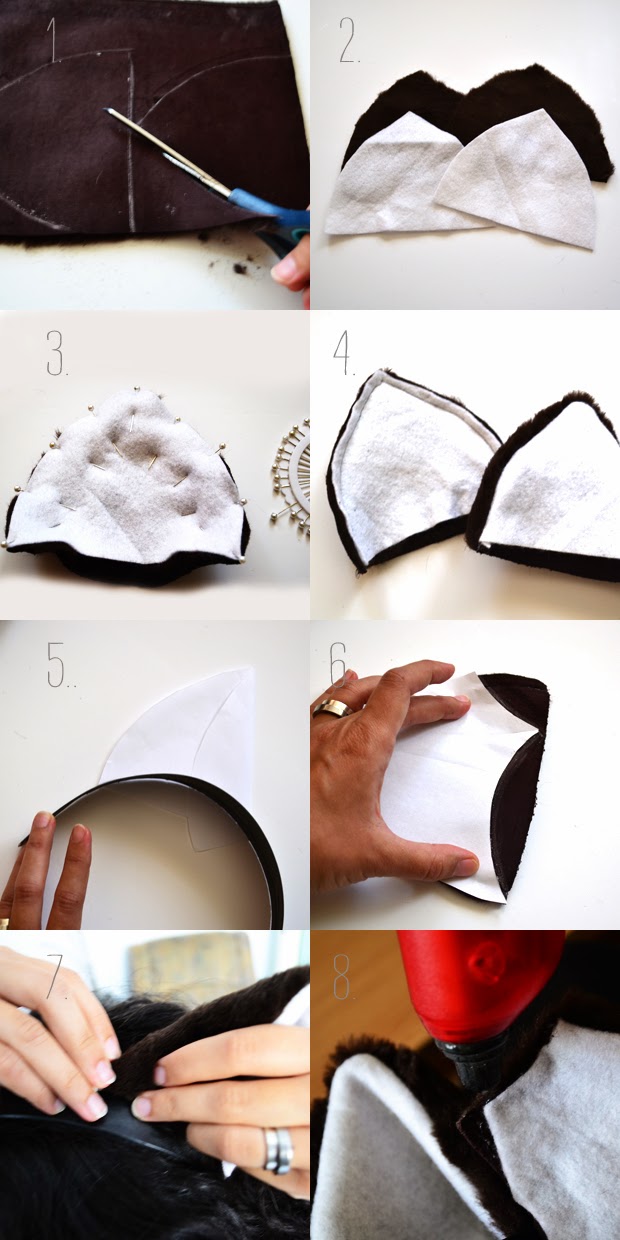
1. trace the bigger shape on the black fur and cut 2 pieces
2. do the same thing with the smaller piece and white felt, again 2 pieces
3. pin the felt and the fur together right side facing (the fur edge will curl, being larger, but if you add more pins it won't be a problem)
4. sew the two sides together and turn the ears right side out
5. a cat's ears are not flat, they are a little curved, so take the bigger pattern and fold the right side from the tip of the ear; don't fold it in half, but about 1/3; place the headband on the base of the folded ear and trace it's contour on the paper; this way your ear base will have the curved shape of the headband and it will be easier to glue it
6. place the new pattern on the ears and cut the base in the new shape; make sure you turn the pattern over for teh second ear. you want to make them symmetrical not identcal
7. put your headband on and mark on it the place where you want your ears to be
8. using a glue gun, add glue to the base edge of the ear and attach them to the headband

That's it. I guarantee you'll get a lot of treats and compliments looking this cute :D
Happy Haloween!
Love,
L.


No comments:
Post a Comment